|
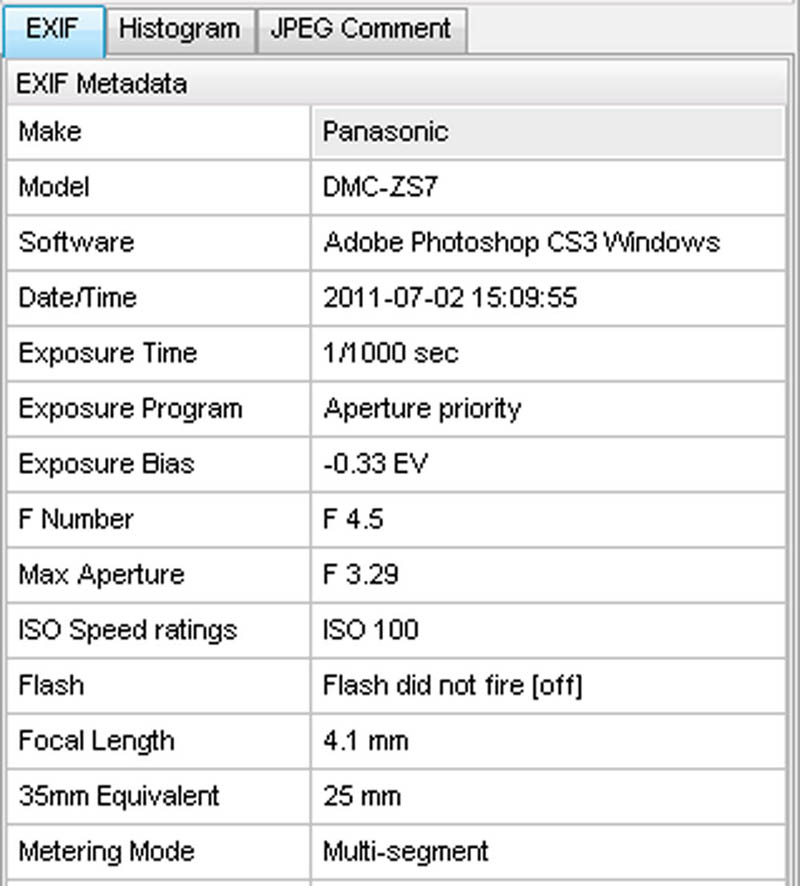
EXIF data
|
|
|
|
|
|
|
|
|
|
|
|
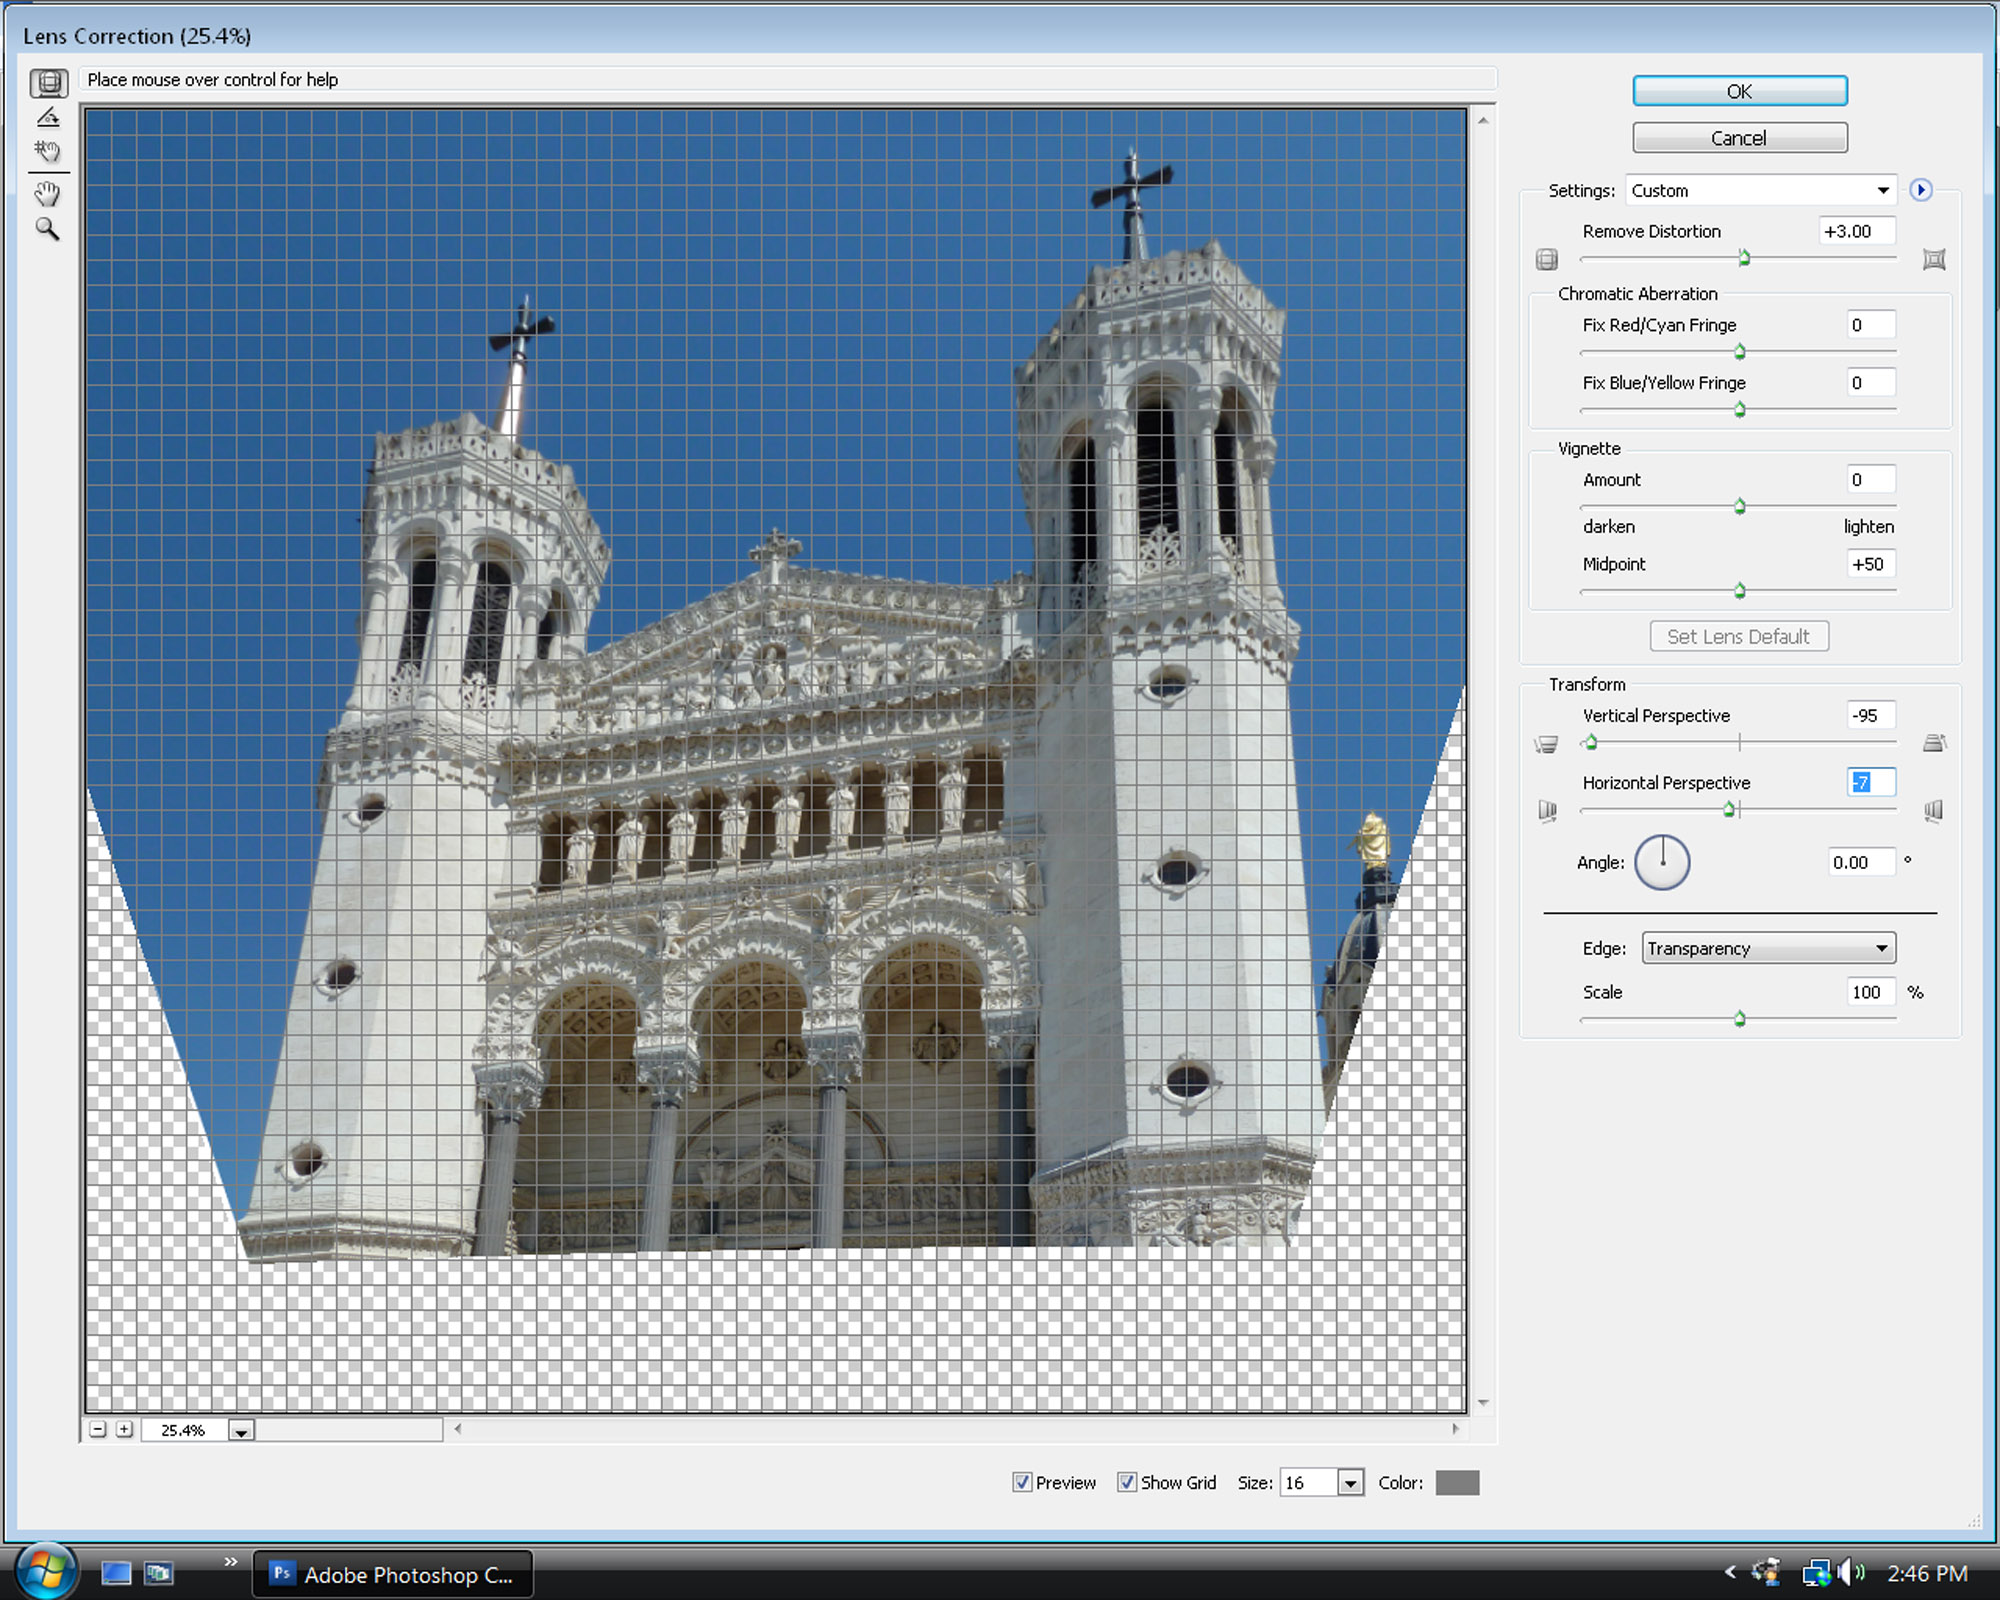
Michael A. Stecker Test of Photoshop Lens Distortion Correction YouTube videos of correcting lens distortion with Photoshop: 1, 2 |
|
|
|
EXIF data
|
|
|
|
|
|
|
|
|
|
|