|
Michael A. Stecker
High Dynamic Range (HDR) Images |
|
If you have ever photographed a high contrast scene, you know that even the best exposure will typically have blown out highlights and flat shadows. One way to solve this problem is to take multiple exposures to optimize bright areas (under expose) and dark area (over expose). One then can combine these images to produce more dynamic range.
The process consists of the following steps: 1. Take two or three photos of same scene: normal, 1 - 2 stops under exposed and/or 1 -2 stops over exposed 2. Align and merge the images in either Adobe Photoshop CS3 or Photomatrix Pro to produce a radiance HDR (.hdr) 16 or 32 bit composite image 3. Produce a tone mapped image (from step 2) in a program like Photomatrix Pro |
|
|
|
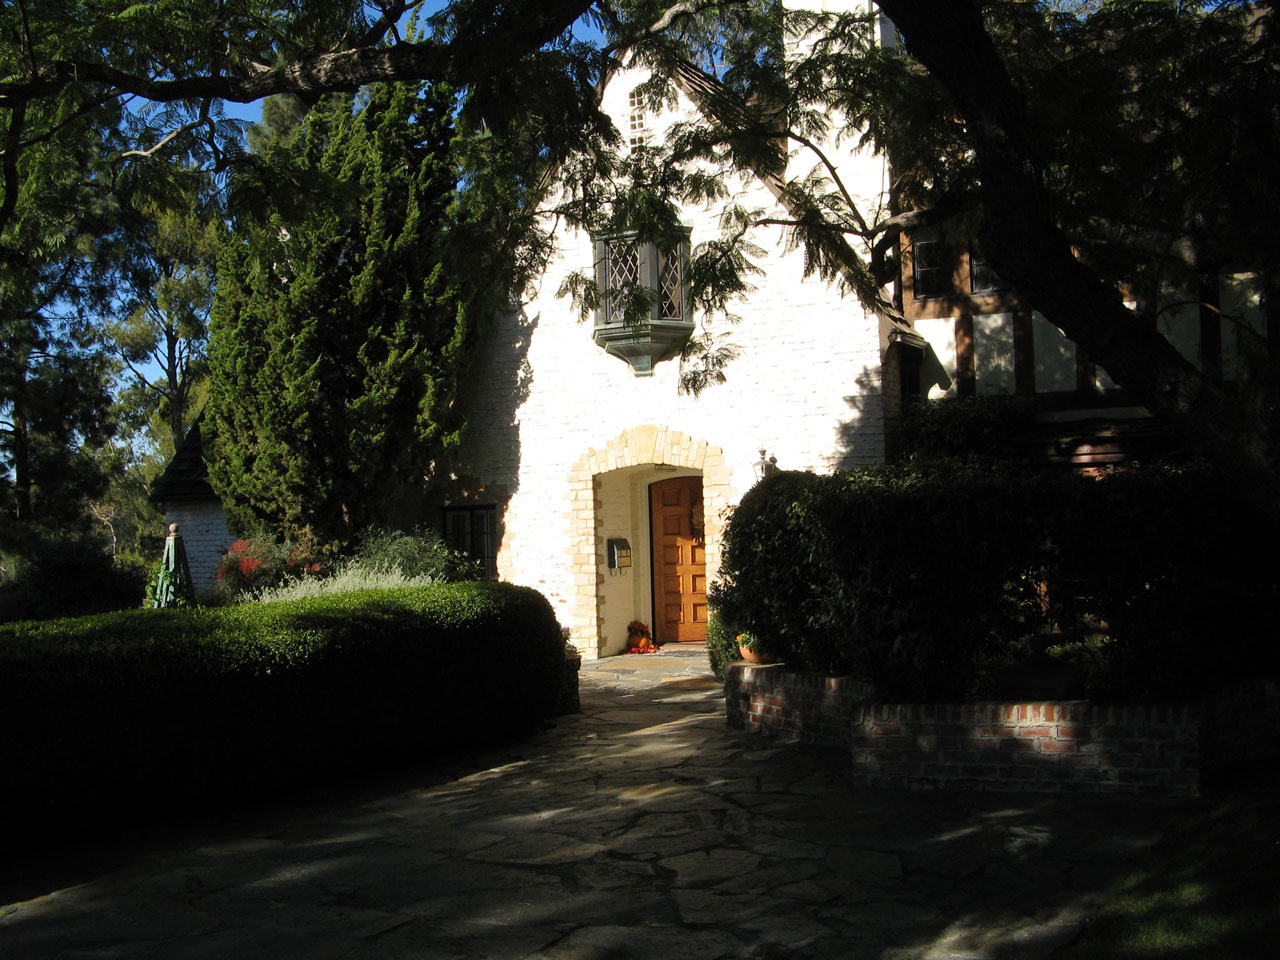
Example |
|
|
|
|
|
|
|
|
|
High Dynamic Range (HDR)
tone mapped image |