|
Michael A. Stecker
mastecker@sgmail.com
Home
Test Index
Photoshop Technique Index
Photoshop
Panorama Stitching
Photoshop Actions -- Frames
|
|
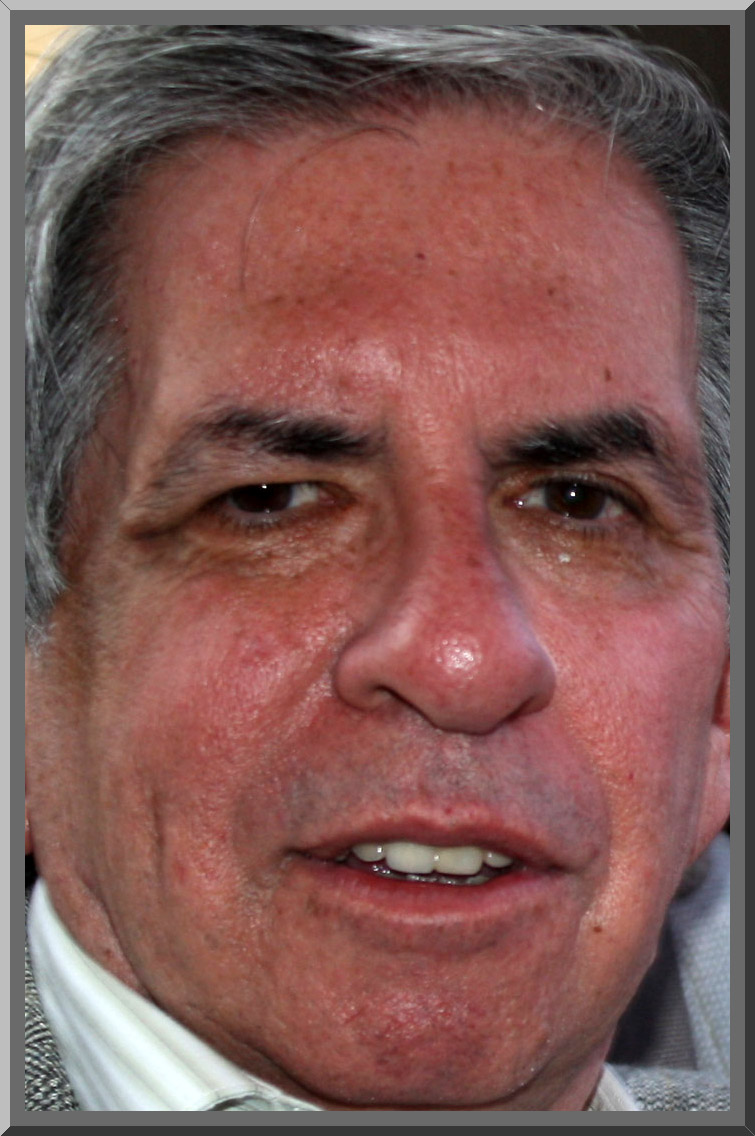
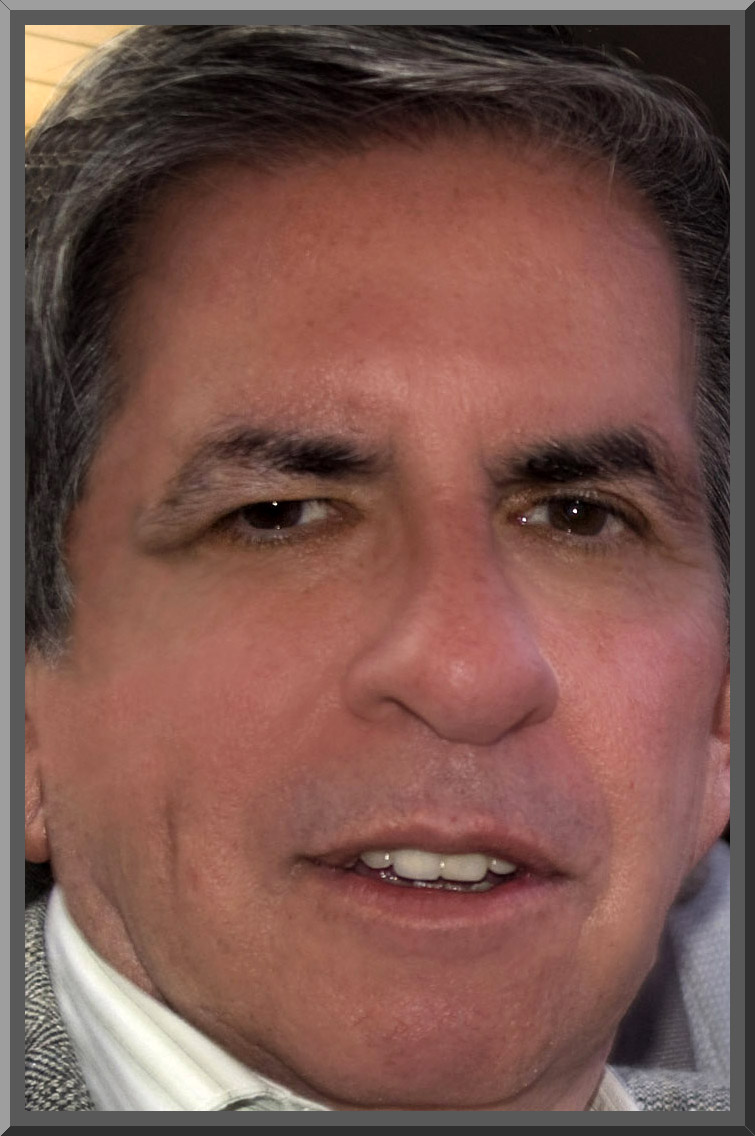
Photoshop Digital Makeup
.
| |
 |
|
 |
|
| |
Before |
|
After |
|
|
|
Techniques
1. Digital Powder Makeup
2. Wrinkle Removal
3. Skin Color Healing
4. Hair Color |
|
------------------------------------------------------------------------ |
|
Digital Powder Makeup
.
Photoshop Mama Powder Action
(best)
This action acts like powder make-up. It is
easy to use and quite effective in hiding minor blemishes, skin
discoloration and wrinkles.
.
Photoshop Mama, Part 1a YouTube Tutorial:
http://www.youtube.com/watch?v=w3OS46DfykA
.
Buy the Photoshop Mama Powder Action ($25):
http://www.photoshopmama.net/legalpowder.html?reload
Make your own Digital Powder Makeup
using layers (average)
http://forums.dpreview.com/forums/read.asp?forum=1022&message=21874253
1. Dupe background layer twice.
2. Set one dupe layer to darken mode, one to lighten mode.
3. Apply a 40 Gauss blur to the darken layer, leave at 100% opacity.
4. Apply a 60 Gauss blur to the lighten layer, set to 40% opacity.
5. Merge the darken and lighten layers (or put in a layer set, aka Powder)
6. Adjust the opacity of the merged layers (or layer set) to taste, about
40%.
7. Add layer mask and paint the effect in or out. |
|
******************************************************
|
|
Wrinkle Removal
I
removed wrinkles from below the eyes with a Motion Blur in a layer above
the background layer as:
1. Create a duplicate layer of the background and place it above the
background
2. Lasso the wrinkles of this layer as a selection and modify with a
feather (about 12 pixels)
3. Do a Motion Blur that is perpendicular to the long axis of the wrinkles
4. Lighten the selection slightly with brightness control under Image
Adjust
or
5. Create a Layer Mask
6. Paint in the changes (i.e. wrinkles only) on this layer mask with the
white brush tool
7. Adjust the opacity of the layer to taste -- less than 100%
One could also use the
Cloning Tool or Healing Brush to remove wrinkles.
Here is a YouTube tutorial for the Healing Brush to
remove wrinkles:
http://www.youtube.com/watch?v=Dva876dPEwg |
|
******************************************************
|
|
Skin Color Healing
Photoshop Mama, Part 1b YouTube Tutorial
(first part)
http://www.youtube.com/watch?v=icv4aZ5Ot1Y&feature=channel
My skin color
healing technique (below the nose and to the side)
1.Use the color picker (eye-dropper) from
adjacent normal skin
2. Create a Fill/Adjustment layer above the background layer
3. Choose "Solid Color" from top of drop-down menu
4. Type "Control i" to invert the layer (from solid color to background
photo)
5. Paint in the solid color with a brush with the white mode selected (can
remove it with the brush in the black mode).
6. Do a Gaussian Blur to blur the borders
7. Adjust the opacity of this adjustment layer to blend the skin color |
|
****************************************************** |
|
Hair Color
Photoshop Mama YouTube
Tutorial
http://www.photoshopmama.net/chores/rootamenthairies/rootamenthairies.html
1. Select the hair for color-change with the Lasso
Selection Tool
2. Create New Fill/Adjust Layer by clicking on the icon (B&W circle) at
the bottom of the layer palette and choose "Solid Color"
3. This will open the "Color Picker"
4. With the "eye-dropper tool pick an appropriate color to change hair to
5. Change from "Normal" to "Soft Light" from the blending mode at the top
left
6. In the layer palette select the layer mask to the far right
7. Blur the border of the layer mask with a Gaussian Blur (filter)
8. May brush-in some more color to hair with the air "Brush Tool"
7. Be sure the layer mask is selected and the B&W painting option to the
left is selected to "White Color"
8. Brush in the color with mouse clicks
9. Adjust the opacity of the color-hair layer to desired effect
.
You may want to lighten the hair color by:
10. Double clicking on the layer color to produce a duplicate layer
11. Adjust opacity of duplicate layer
12. Save As a new file name (.PSD) |
|
|
|
|
|
|